How to Create Branded Pinterest Board Covers
Amit Gandhi Don't judge a book by its cover they said! Well they never heard of Pinterest. And your boards and pins will be judged by its cover. Learn why branded board covers are still relevant in 2019, and learn the latest Pinterest tips on how to create stunning board covers.If you are serious about your blog and marketing your brand on Pinterest, you must create board covers. Here are a few reasons why (even in 2024) board covers are as important as ever.
Branding is important.
When a potential follower looks at your boards, would you rather they see a bunch of noisy pin images made by other people, or would you want to control the branding experience and give your boards some love?
Here is an example of what my boards looked like before I created my own custom board covers.
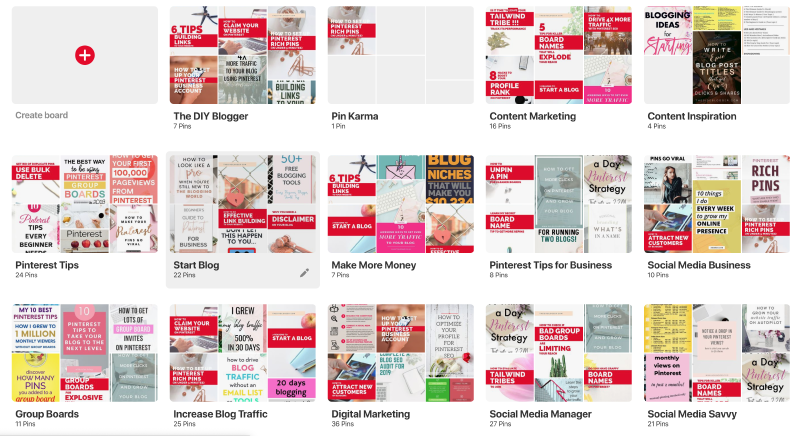
No Board Covers
And this is after setting board covers that align with my branding.
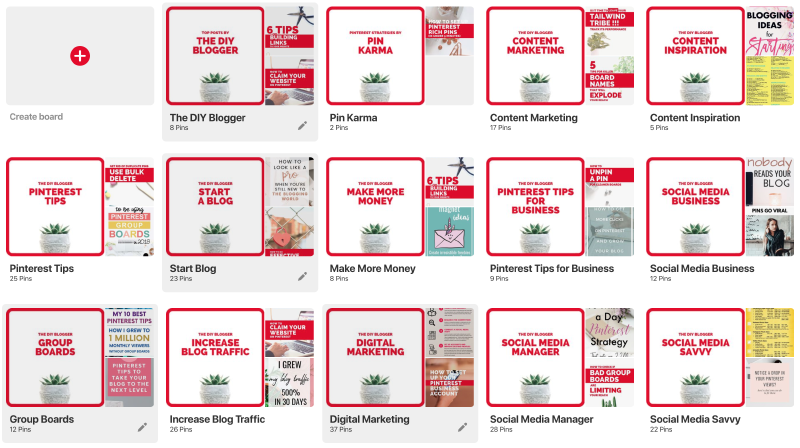
With Board Covers
Which profile are you more likely to trust and follow?
Board Covers can help with SEO.
How you may ask?
Well, when you upload a board cover, the cover itself must be a pin to that board. So, after designing your board cover image, create a new pin.
Give the pin a title with the keywords your are targeting for the board.
Since my board is already named to target my keywords, the pin title will most likely match the board name. Same with the pin description.
Copy the description from the board, and add that description to the pin.
Since we are dealing with a pin here, now is also a good time to add any relevant hashtags.
The image itself should also contain the keywords from the board.
The final step for creating the pin image is to assign a URL.
It’s a good idea to paste in the URL of the board itself.
That way if a user were to repin this pin, anyone clicking on the pin will end up on your board.
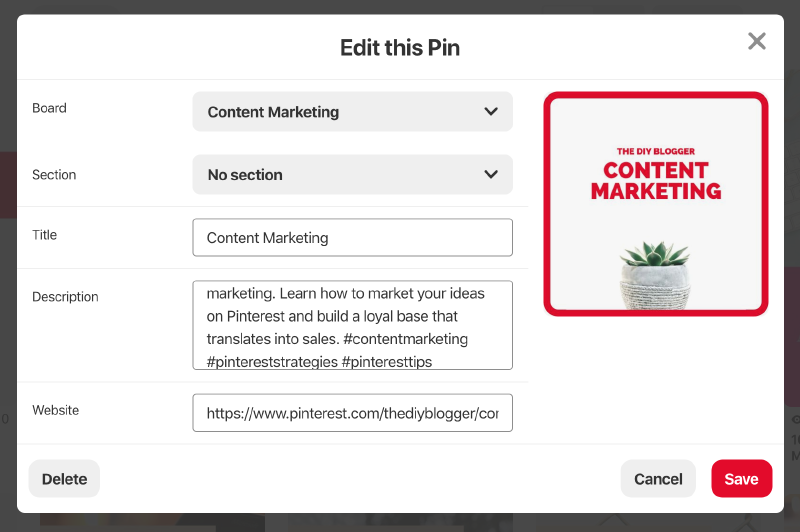
Board Cover Pin
When this pin is set as the board cover, not only do you get a branded board, but you’ve signaled to Pinterest that this pin strongly reflects what this board is about.
At the end of the day, we end up with a pin whose title, description, and image align with the board name and description, and are linked together, giving Pinterest some really strong signals to help you rank for those keywords.
Board Cover Designs
The board cover designs you create should align with your branding.
- Are there certain fonts and colors you use on the majority of your pins.
- Does that branding style translate over to your website.
- Can your readers recognize your brand by the style, colors, fonts you use?
If so, then you board covers should continue to follow that brand, first and foremost.
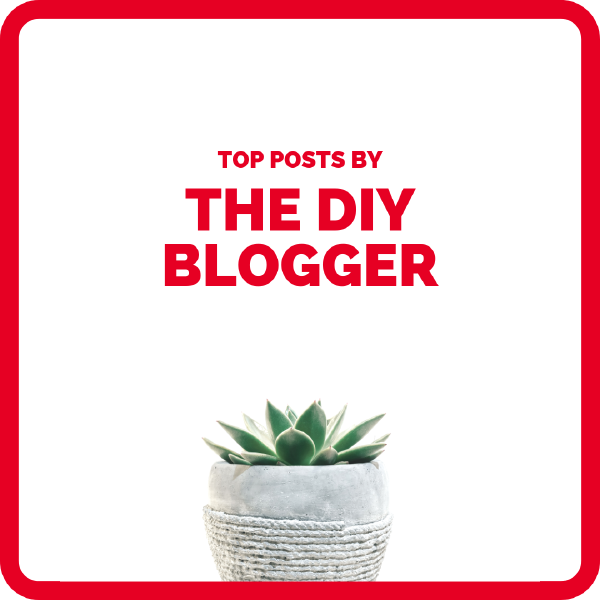
Clean Board Covers
That being said, I am a big fan of minimalism. I like to use a lot of whitespace on my pins, and that comes across to my board covers. When looking at some other board covers, some are really noisy with heavy background images. Those make my eyes hurt and I’m unlikely to follow those users. When I see board covers with light colors, empty space, and where the text stands out - I am much more likely to follow that user as I am more likely to trust their brand.
Here are some examples of board covers that work well:
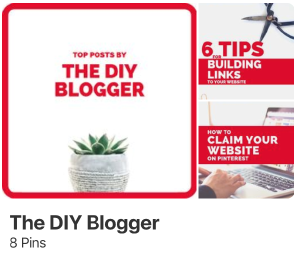
Good use of whitespace
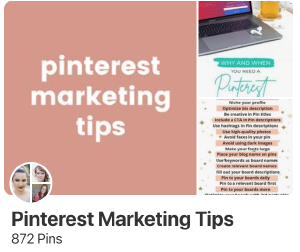
Minimalist Board Cover
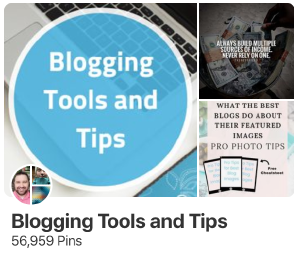
Easy to read text
And here is an example of a board cover that looks pretty, but is harder to read due to the chosen font.
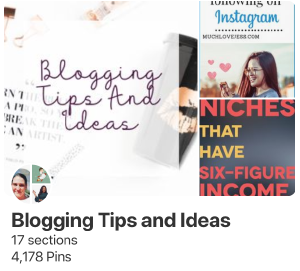
Busy background with hard to read font
How to create your own Board Covers
The easiest way to create board covers is to use a free tool like Canva. You can also use PicMonkey or other similar tools also. I am a big fan of Canva due to its simplicity and its free plan is very feature rich.
Pinterest wants board covers to be square, with board cover dimensions of 600px x 600px.
In Canva, you can just use the Instagram template which gives you a 1200 x 1200 square to work with.
From there, design your cover using your brand guidelines. That means, stick to the same fonts you use in your pins. Use similar colors. And keep lots of empty space so the text stands out.
The biggest text on the board cover should be the name of the board. Try to avoid having too many other words on the cover, since you have limited space and want the user to immediately see the board and what it’s about.
Once your pin is designed, download it in png format.
The next step is to open your Pinterest board where you want to apply your new board cover.
Create a new Pin, and enter the pin details:
- Title: This should be the same as the board name.
- Description: This should be the same as the board description. Plus throw in some relevant hashtags.
- Image: Attach your new board cover image.
- URL: This should be the URL to your board (eg “https://www.pinterest.com/[username]/[board]”)
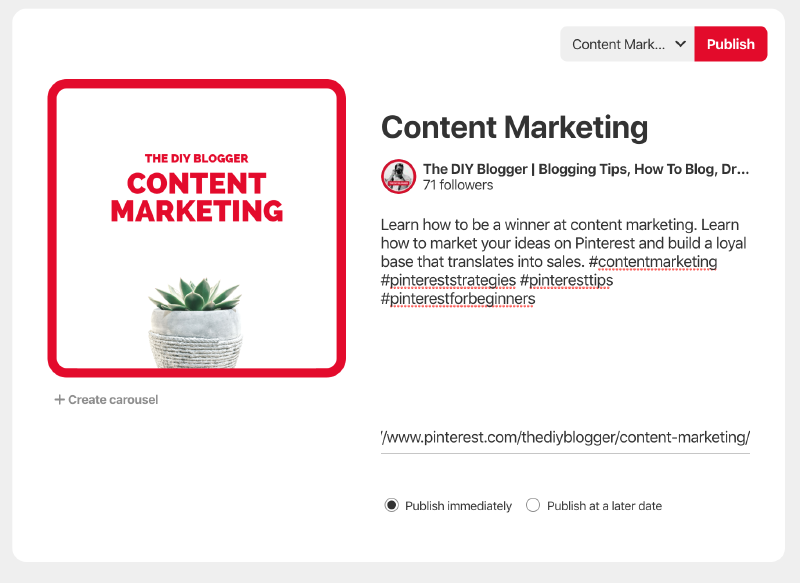
Create a new board cover pin.
Save your new pin.
Now that you have a pin created on your board with your new cover image, we want to set that to the board. Click on the pencil icon to edit your board.
Click on the Change button for the Cover.
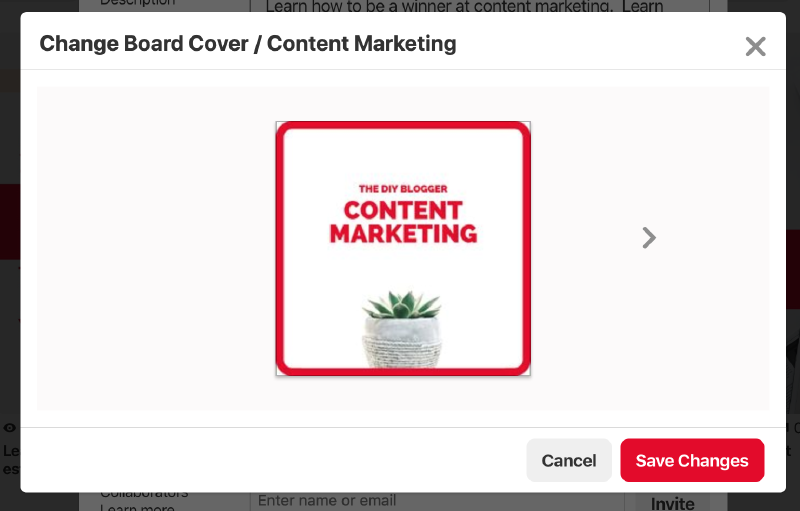
Set Board Cover.
You will see images for the pins on the board. Click the arrow until you see your new cover image. Then click Save to set the cover.
Your board should now have its cover image set.
Go ahead and repeat this for the rest of your boards. Also, move any group boards you are part of (and don’t own) to the bottom of your list.
And thats it. You get to put your best foot forward with a beautifully branded profile, which will hopefully result in a nice boost in followers.
